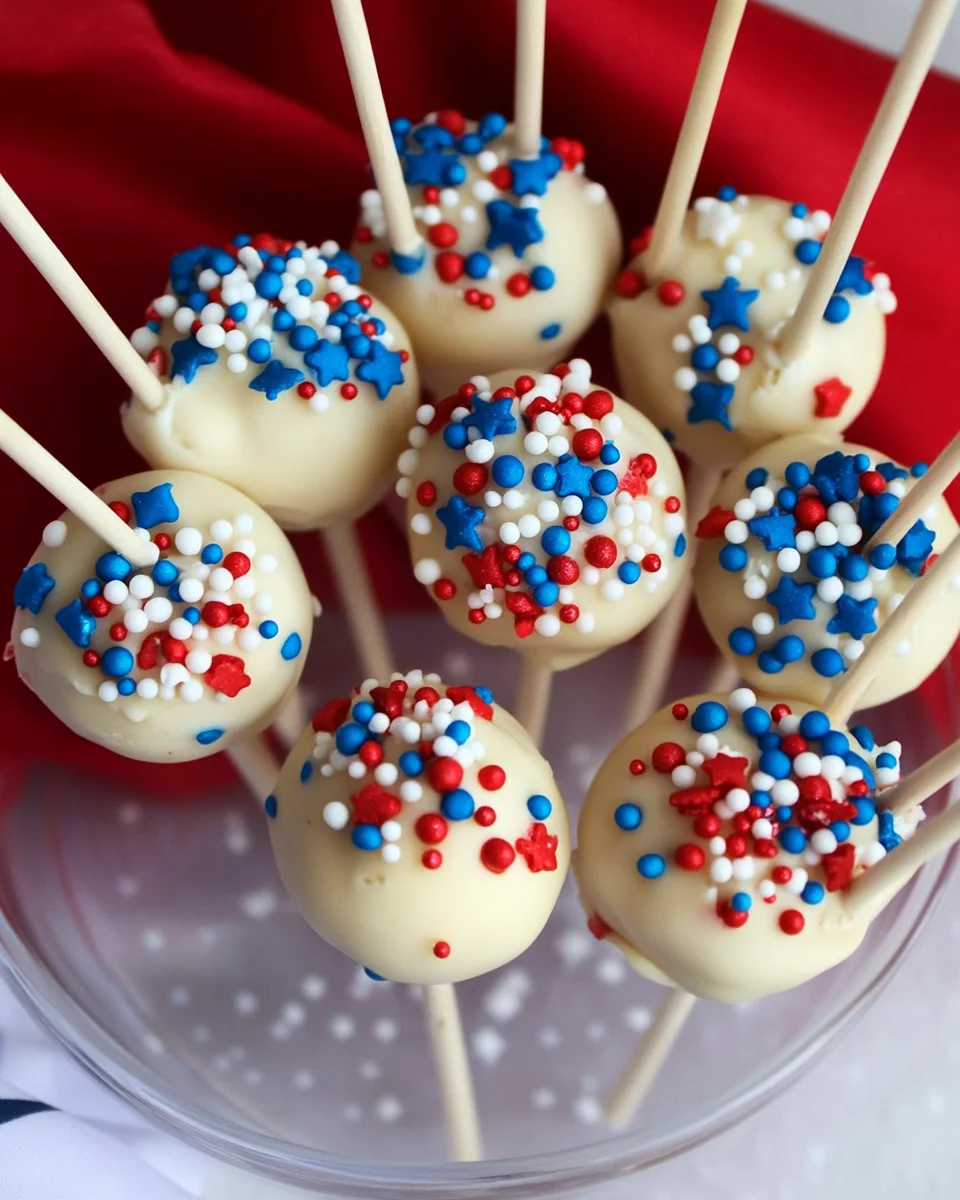
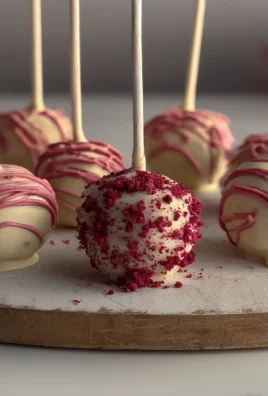
These 4th of July cake pops are an absolute delight, perfect for your Independence Day dessert table! Not only do they look festive with their red, white, and blue sprinkles, but they also offer a fun and easy way to celebrate the holiday. These cake pops are versatile enough for various occasions, from summer parties to family gatherings. Their unique combination of flavors makes them a standout treat that everyone will love!

Why You’ll Love This 4th of July Cake Pops
These cake pops are sure to impress your guests and bring joy to your celebrations.
- Easy to Make: With just a few simple steps, you can whip up these delicious treats in no time.
- Fun for All Ages: Kids will love helping to decorate the cake pops, making this a great family activity.
- Customizable Flavors: Feel free to switch up the cake mix or frosting to create your favorite flavor combinations.
- Perfect for Parties: These colorful cake pops are a fantastic addition to any summer celebration or holiday gathering.
- Portable Treats: Easy to serve and eat, these pops are ideal for picnics and potlucks.
Tools and Preparation
Having the right tools makes preparing these 4th of July cake pops even easier.
Essential Tools and Equipment
- Mixing bowl
- Baking sheet
- Cookie sheet
- Microwave-safe bowl
- Cake pop sticks
- Cling wrap
Importance of Each Tool
- Mixing bowl: Essential for combining ingredients smoothly.
- Baking sheet: Perfect for cooling the baked cake before crumbling.
- Microwave-safe bowl: Ideal for melting chocolate without burning it.
Ingredients
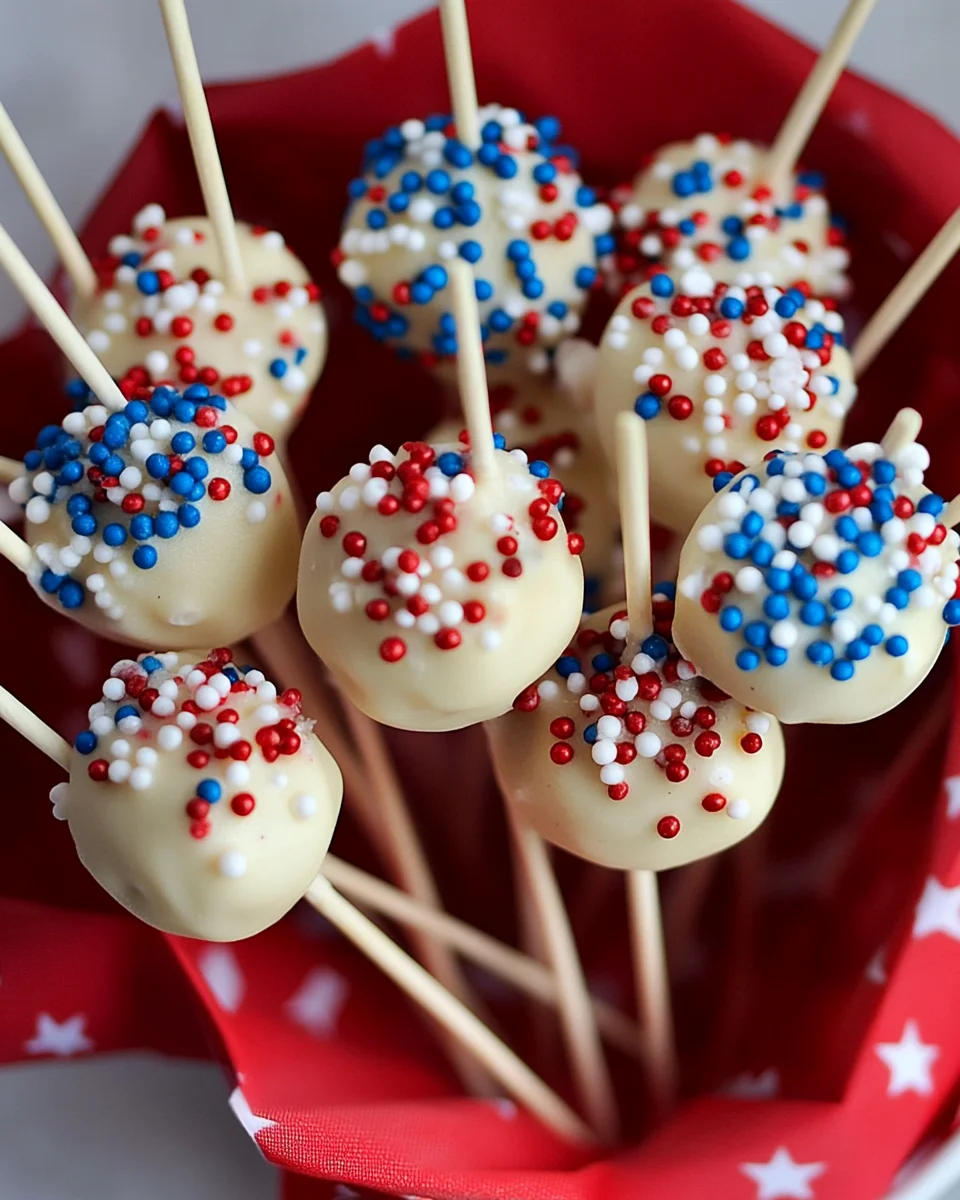
These 4th of July fun cake pops are so good and easy to make for your Independence Day dessert table!
For the Cake Pops
- 1 Duncan Hines Classic White cake box mix (or your preferred cake mix)
- 3 eggs
- 1/3 cup of vegetable oil
- 1 cup of water
For the Coating
- 1 10-oz bag of Ghirardelli white melting wafers
- 1 tablespoon of coconut oil
For the Filling
- 1/3 part of a 12-oz container of cream cheese
For Decoration
- Patriotic sprinkles
- Cake pop sticks
How to Make 4th of July Cake Pops
Step 1: Bake the Cake
Follow the directions on the back of your cake mix. Combine the ingredients in a mixing bowl and bake according to package instructions.
Step 2: Cool and Crumble
Let the baked cake cool completely before crumbling it into fine pieces using your hands or a fork.
Step 3: Mix with Cream Cheese
Add in the cream cheese frosting. Mix until well combined, creating a cohesive mixture.
Step 4: Form Cake Balls
Take about 1 tablespoon of the mixture and form it into a ball. Place each ball onto a cookie sheet. Repeat until all mixture is used.
Step 5: Freeze Cake Balls
Place the formed cake balls into the freezer for about 30 minutes. This helps them harden slightly.
Step 6: Melt Chocolate Wafers
Five minutes before removing from the freezer, melt the white melting wafers. Microwave them in intervals of 30 seconds until fully melted.
Step 7: Combine with Coconut Oil
Once melted, stir in coconut oil. This will give your coating a nice shine and smooth texture.
Step 8: Insert Sticks
Remove cake balls from the freezer. Push one stick into the center of each ball carefully.
Step 9: Prepare Cling Wrap Setup
Stretch cling wrap over three cups or glasses and set aside. This will hold your pops upright while drying.
Step 10: Dip in Chocolate
Dip each cake ball into the melted chocolate coating. Decorate immediately with patriotic sprinkles before chocolate sets.
Step 11: Dry Completely
Push the decorated cake pop sticks into cling wrap-covered glasses. Allow them to dry completely upright.
Step 12: Serve
Serve your delightful 4th of July cake pops immediately for everyone to enjoy!
How to Serve 4th of July Cake pops
These delightful 4th of July cake pops are perfect for celebrating Independence Day with family and friends. Here are some fun serving suggestions that will make your dessert table shine.
Festive Display
- Use a decorative cake stand to showcase your cake pops.
- Arrange them in a colorful jar or vase filled with rice or foam for added height.
Themed Plates
- Serve the cake pops on red, white, and blue plates to enhance the patriotic theme.
- Consider using star-shaped plates for an extra festive touch.
Individual Treat Bags
- Place each cake pop in a clear treat bag tied with a ribbon.
- This makes for cute party favors guests can take home.
Ice Cream Pairing
- Pair your cake pops with vanilla or strawberry ice cream.
- The combination of flavors creates a fun dessert experience.
How to Perfect 4th of July Cake pops
To ensure your 4th of July cake pops turn out perfectly, follow these helpful tips.
- Use Room Temperature Ingredients: Ensure all ingredients, especially eggs and cream cheese, are at room temperature for easier mixing.
- Don’t Overbake the Cake: Keep an eye on your cake while baking to avoid dryness; it should be moist when you crumble it.
- Chill the Cake Balls: Freezing the cake balls allows them to hold their shape during dipping, preventing them from falling apart.
- Melt Chocolate Slowly: Melt the melting wafers in short intervals to prevent burning. Stir well for a smooth consistency before dipping.
- Decorate Immediately: Add sprinkles right after dipping while the coating is still wet for better adherence.
- Store Properly: Store any leftovers in an airtight container in the fridge for freshness up to one week.
Best Side Dishes for 4th of July Cake pops
Pairing side dishes with your festive 4th of July cake pops can elevate your celebration. Here are some great options:
-
Grilled Corn on the Cob
A classic summer side that adds sweetness and texture to your meal. -
Caprese Salad Skewers
These colorful skewers made with mozzarella, tomatoes, and basil offer a fresh contrast. -
Potato Salad
Creamy potato salad is a staple at any picnic or barbecue and complements sweet treats perfectly. -
Watermelon Feta Salad
Refreshing watermelon paired with salty feta cheese creates a delightful balance with sweet desserts. -
Barbecue Chicken Wings
Spicy wings add a savory kick that pairs well with the sweetness of cake pops. -
Veggie Platter with Dip
Crisp veggies served with ranch or hummus offer a healthy crunch alongside sweet treats. -
Pasta Salad
A chilled pasta salad tossed with vegetables can be a filling addition that balances out the dessert table.
Common Mistakes to Avoid
Avoiding common mistakes can make your 4th of July cake pops turn out perfectly every time.
- Skipping the cooling step: Always let your cake cool completely before crumbling. This prevents a soggy texture.
- Not measuring ingredients properly: Use precise measurements for the cake mix and cream cheese to ensure consistency.
- Overcrowding the cookie sheet: Place cake balls with enough space in between so they don’t stick together as they freeze.
- Melting chocolate too quickly: Microwave chocolate in short intervals. Overheating can cause it to seize up, ruining your coating.
- Neglecting to use cling wrap: Covering cups with cling wrap keeps the sticks upright and prevents mess while drying.
Storage & Reheating Instructions
Refrigerator Storage
- Keep leftover cake pops in an airtight container for up to 5 days.
- Place parchment paper between layers to prevent sticking.
Freezing Instructions
- Freeze cake pops for up to 2 months in an airtight container.
- Wrap each pop individually in plastic wrap before placing them in a freezer bag.
Reheating Instructions
- Oven: Preheat to 350°F, place on a baking sheet for about 5 minutes until warm.
- Microwave: Heat one at a time for about 10-15 seconds on medium power.
- Stovetop: Not recommended as it may cause melting; best to serve cold.

Frequently Asked Questions
How do I make 4th of July Cake pops?
Making these festive treats involves baking a cake, crumbling it, mixing with cream cheese, and coating with melted chocolate.
Can I customize my 4th of July Cake pops?
Absolutely! You can use different cake flavors or colors of melting wafers and sprinkles to suit your theme.
How long do 4th of July Cake pops last?
When stored properly, they will stay fresh for up to 5 days in the refrigerator or 2 months in the freezer.
What can I use instead of cream cheese?
You can substitute cream cheese with store-bought frosting or even chocolate ganache for a different flavor profile.
Final Thoughts
These 4th of July cake pops are not only fun but also easy to customize for any celebration. With endless decorating possibilities, they’re sure to impress guests at your Independence Day gathering. Give this recipe a try and enjoy a delightful treat!
4th of July Cake Pops
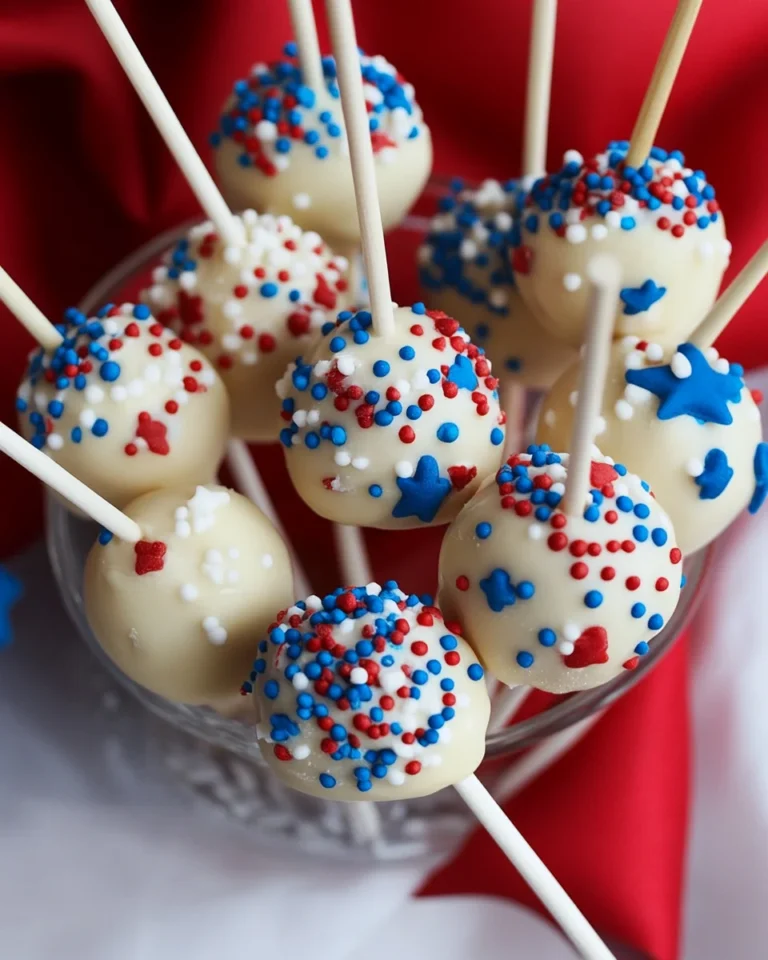
Celebrate Independence Day with these delightful 4th of July Cake Pops, the perfect addition to your festive dessert table! Bursting with patriotic colors and flavors, these cake pops are not only visually appealing but also incredibly fun to make. Whether you’re hosting a summer gathering or a family barbecue, these easy-to-make treats will impress both kids and adults alike. With customizable flavors and a simple preparation process, they are a versatile dessert choice for any celebration. Get ready to whip up a batch and enjoy a sweet bite of joy on this special day!
- Total Time: 1 hour
- Yield: Approximately 12 servings 1x
Ingredients
- 1 Duncan Hines Classic White cake mix
- 3 eggs
- 1/3 cup vegetable oil
- 1 cup water
- 1 (10 oz) bag Ghirardelli white melting wafers
- 1 tablespoon coconut oil
- 1/3 of a 12 oz container of cream cheese
- Patriotic sprinkles
Instructions
- Preheat the oven and bake the cake mix according to package directions.
- Cool the baked cake completely, then crumble it into fine pieces.
- Mix the crumbled cake with cream cheese until well combined.
- Form tablespoon-sized balls and place them on a cookie sheet.
- Freeze the cake balls for about 30 minutes.
- Melt white chocolate wafers with coconut oil in intervals until smooth.
- Insert sticks into each chilled cake ball before dipping them into chocolate.
- Decorate immediately with sprinkles and let dry upright.
- Prep Time: 30 minutes
- Cook Time: 30 minutes
- Category: Desserts
- Method: Baking
- Cuisine: American
Nutrition
- Serving Size: 1 serving
- Calories: 150
- Sugar: 12g
- Sodium: 50mg
- Fat: 8g
- Saturated Fat: 5g
- Unsaturated Fat: 2g
- Trans Fat: 0g
- Carbohydrates: 18g
- Fiber: <1g
- Protein: 2g
- Cholesterol: 20mg

Leave a Comment