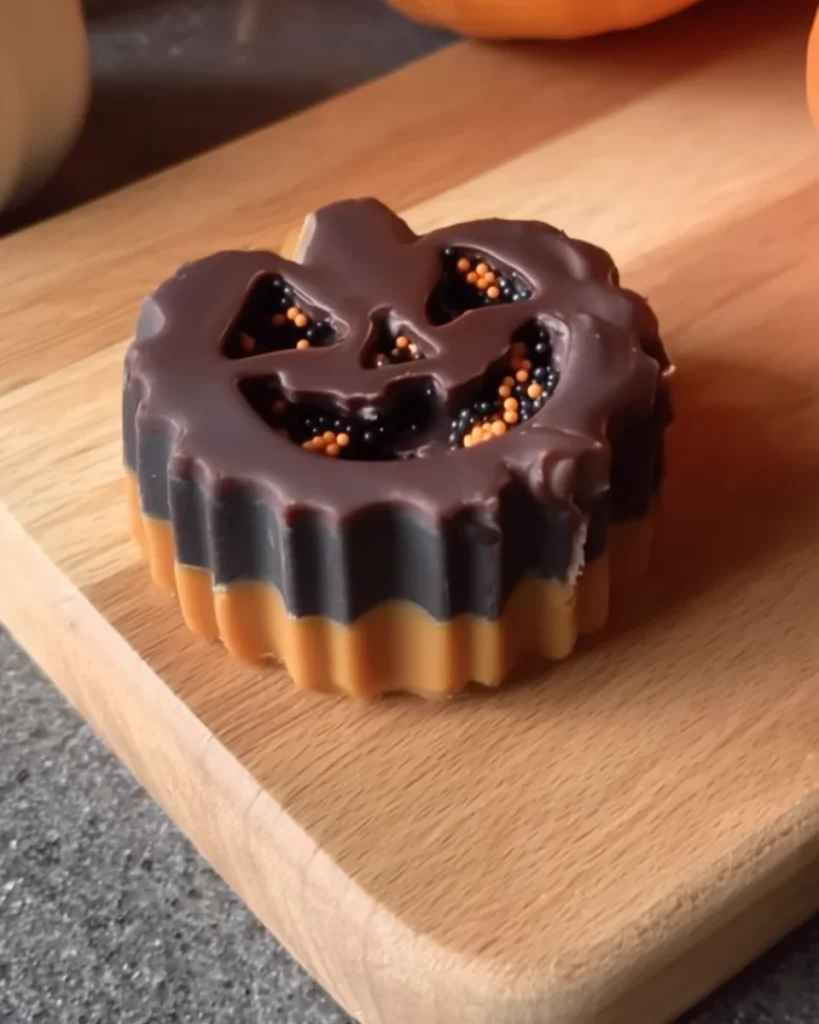
Get into the Halloween spirit with these Halloween Peanut Butter Cups, featuring a rich chocolate exterior and a creamy peanut butter center. These treats are not only perfect for trick-or-treaters but also make a fun addition to any Halloween gathering. Their spooky designs and festive colors will impress kids and adults alike, making them a highlight of your Halloween festivities.
Why You’ll Love This Recipe
- Simple to Make: This recipe requires minimal ingredients and steps, making it easy for anyone to whip up a batch.
- Rich Flavors: The combination of creamy peanut butter and rich chocolate creates a delightful taste that is hard to resist.
- Customizable Decorations: You can easily personalize these cups with different sprinkles or toppings for any occasion.
- Fun for All Ages: Kids will love helping to make these spooky treats, making it a great family activity.
- Perfect for Sharing: With 12 servings, these peanut butter cups are ideal for sharing at parties or with neighbors during Halloween.
Tools and Preparation
Before you start making your Halloween Peanut Butter Cups, gather the necessary tools. Having everything ready will streamline your process and ensure success.
Essential Tools and Equipment
- Muffin tin
- Cupcake liners or mini muffin cups
- Microwave-safe bowl
- Mixing spoon
- Refrigerator
Importance of Each Tool
- Muffin tin: This tool helps shape your peanut butter cups perfectly, ensuring they hold their form once chilled.
- Microwave-safe bowl: Using this makes melting chocolate quick and easy without the risk of burning it on the stove.
Ingredients
To create these delightful Halloween Peanut Butter Cups, you’ll need the following ingredients:
For the Peanut Butter Filling
- 1 cup creamy peanut butter
- 1 cup powdered sugar
- 1 teaspoon vanilla extract
For the Chocolate Coating
- 1 ½ cups milk chocolate chips
- 1 tablespoon unsalted butter
For Decoration
- ½ cup dark chocolate chips (for decoration)
- Orange and black sprinkles (for decoration)
- Halloween-themed cupcake liners or mini muffin cups
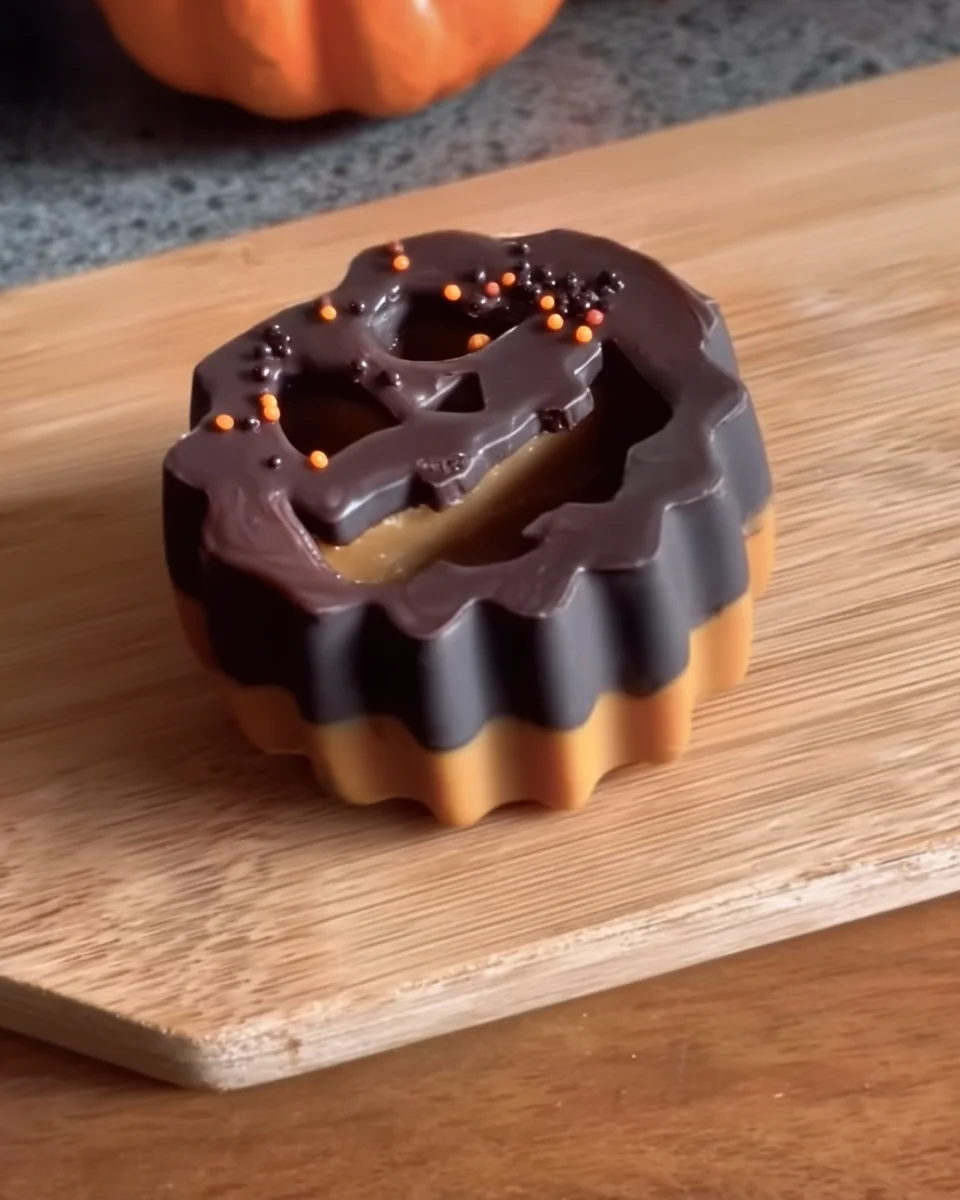
How to Make Halloween Peanut Butter Cups
Step 1: Prepare the Peanut Butter Filling
In a medium bowl, combine the creamy peanut butter, powdered sugar, and vanilla extract. Mix until smooth and well combined.
Step 2: Melt the Chocolate
In a microwave-safe bowl, combine the milk chocolate chips and unsalted butter. Microwave in 30-second intervals:
1. Stir between intervals until fully melted and smooth.
2. Be careful not to overheat as this can burn the chocolate.
Step 3: Fill the Cups
Place cupcake liners in a muffin tin. Pour a small amount of the melted chocolate into each liner:
1. Ensure it covers the base.
2. Use a spoon to spread it slightly up the sides.
3. Refrigerate for about 10 minutes to set.
Step 4: Add the Peanut Butter Filling
Once the chocolate is set, remove the tin from the fridge:
1. Add a dollop of the peanut butter mixture into each chocolate-lined cup.
2. Leave enough room for additional chocolate on top.
Step 5: Top with Chocolate
Pour more melted chocolate over each peanut butter filling:
1. Make sure it’s completely covered.
2. Use the back of a spoon to smooth out any uneven tops.
Step 6: Decorate
While the chocolate is still warm, sprinkle with orange and black sprinkles:
1. This adds a festive Halloween look to your treats.
Step 7: Chill and Serve
Place the muffin tin back in the refrigerator for about 20-30 minutes:
1. Allow the chocolate to fully set.
2. Once set, remove the peanut butter cups from their liners and serve. Enjoy your spooky treats!
How to Serve Halloween Peanut Butter Cups
These Halloween Peanut Butter Cups are a delightful treat that can be served in various ways. Whether you’re hosting a Halloween party or looking for a fun snack to enjoy while watching spooky movies, these cups will surely impress everyone.
At a Halloween Party
- Spooky Platter: Arrange the peanut butter cups on a decorative platter with other Halloween-themed treats for an eye-catching display.
- Themed Cupcakes: Place each peanut butter cup in specially themed cupcake liners to enhance the festive vibe.
Trick-or-Treat Bags
- Individual Wrapping: Wrap each peanut butter cup in clear cellophane and tie with orange or black ribbon for a cute presentation.
- Mixed Treat Bags: Combine the peanut butter cups with other candies in treat bags to create a variety of sweets for trick-or-treaters.
Movie Night Snacks
- Serving Bowl: Pour the peanut butter cups into a large bowl and serve them alongside popcorn for a fun movie night experience.
- Dessert Bar: Set up a dessert station where guests can decorate their own peanut butter cups with additional toppings like crushed candy or whipped cream.
How to Perfect Halloween Peanut Butter Cups
To make your Halloween Peanut Butter Cups truly special, consider these tips for achieving the best flavor and texture.
- Chocolate Choice: Use high-quality chocolate chips for melting to enhance the overall taste of your cups.
- Chill Between Layers: Allow each layer of chocolate to set before adding the next; this ensures that your creations hold their shape well.
- Use Room Temperature Ingredients: Ensure your peanut butter is at room temperature for easier mixing and spreading.
- Experiment with Flavors: Try adding flavored extracts such as almond or maple to the peanut butter filling for a unique twist.
- Decorate Creatively: Get inventive with your decorations by using different colored sprinkles, edible glitter, or even small candy eyes for added fun.
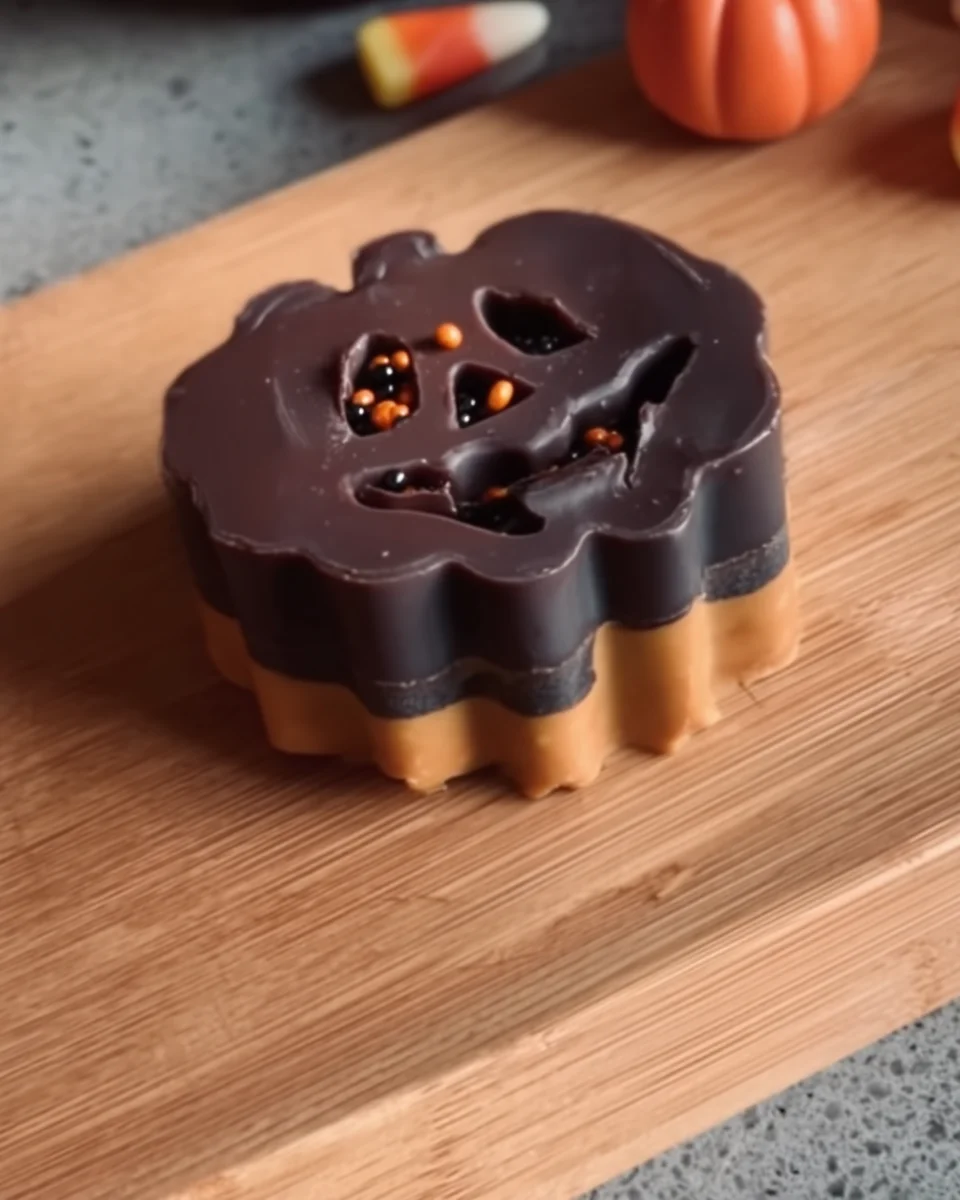
Best Side Dishes for Halloween Peanut Butter Cups
Pairing side dishes with your Halloween Peanut Butter Cups can elevate your Halloween gathering. Here are some great options to consider.
- Ghostly Fruit Salad: A mix of seasonal fruits like oranges, apples, and grapes served in ghost-shaped bowls adds freshness.
- Witch’s Brew Soup: A creamy pumpkin soup that’s both delicious and fitting for the season, served in small cups.
- Mummy Dogs: Hot dogs wrapped in crescent roll dough and baked until golden brown make a fun finger food option.
- Cauliflower ‘Brains’ Dip: Serve roasted cauliflower florets alongside spooky-themed dips like hummus or ranch dressing.
- Monster Veggie Tray: Create a colorful veggie platter shaped like a monster, using dips as monster goo.
- Pumpkin Spice Popcorn: Toss popcorn in pumpkin spice seasoning for an easy-to-make snack that matches the fall theme.
Common Mistakes to Avoid
Making Halloween Peanut Butter cups can be fun, but a few common mistakes can affect your results. Here are some tips to help you avoid them.
- Skipping the Cooling Time: Not allowing the chocolate to set properly can lead to messy treats. Always chill your cups for the recommended time.
- Overheating the Chocolate: Melting chocolate too quickly can cause it to seize. Use short intervals in the microwave and stir often.
- Ignoring Measurements: Not measuring ingredients accurately may alter the taste and texture. Use precise measurements for the best results.
- Using the Wrong Type of Peanut Butter: Chunky peanut butter won’t give you that smooth filling. Stick with creamy peanut butter for a perfect consistency.
- Not Decorating Quickly Enough: Sprinkles need to stick to warm chocolate. Decorate while the chocolate is still melted for a festive look.
Storage & Reheating Instructions
Refrigerator Storage
- Store in an airtight container for up to 1 week.
- Keep separated with parchment paper if stacking.
Freezing Halloween Peanut Butter cups
- Freeze in an airtight container for up to 3 months.
- Layer with wax paper to prevent sticking.
Reheating Halloween Peanut Butter cups
- Oven: Preheat to 350°F (175°C) and warm for about 5-10 minutes, watching closely.
- Microwave: Heat on low power in 10-second intervals until slightly warm.
- Stovetop: Place in a covered pan over low heat, stirring gently until just warmed.
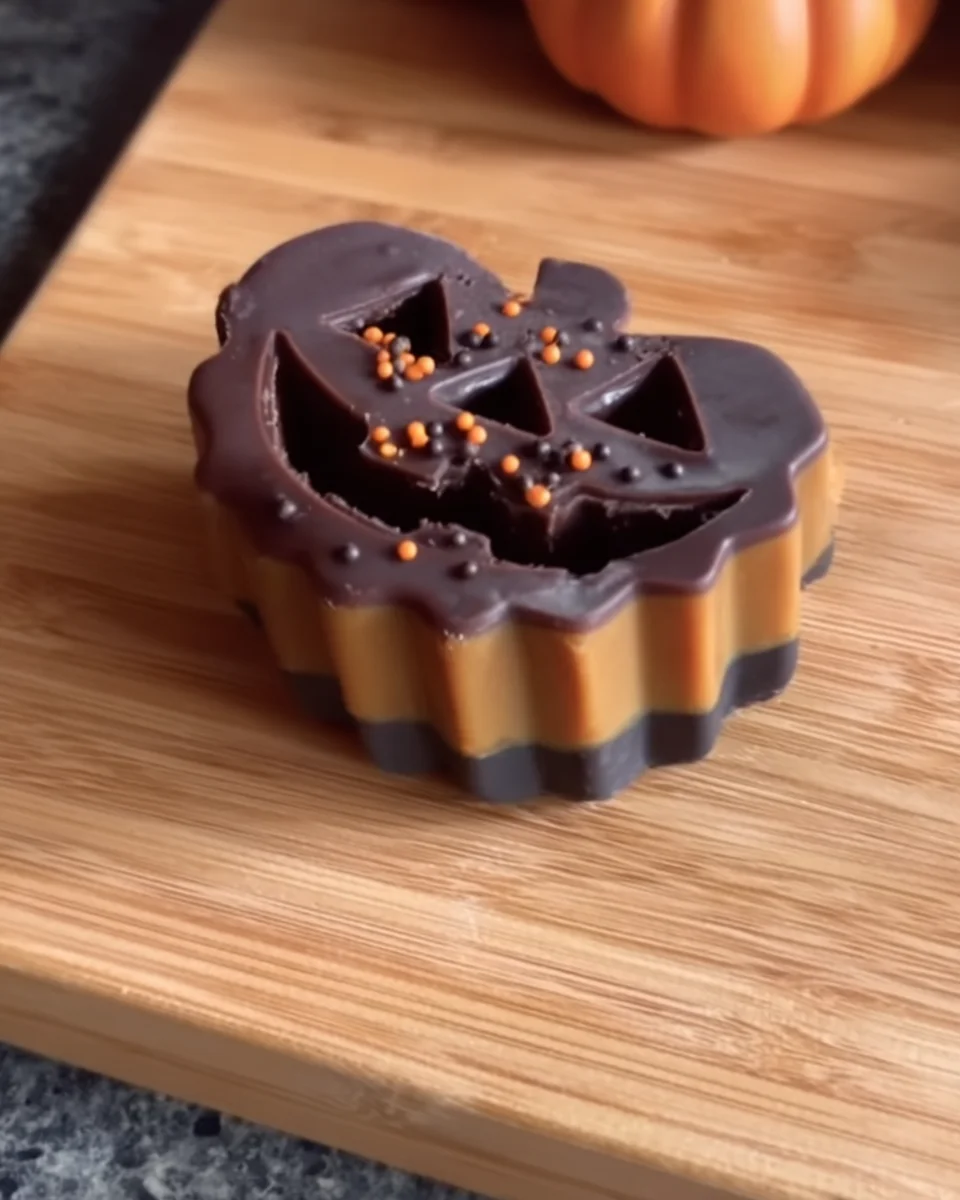
Frequently Asked Questions
Here are some common questions about making Halloween Peanut Butter cups that might help you out.
Can I use dark chocolate instead?
Yes, dark chocolate can be used instead of milk chocolate for a richer flavor profile in your Halloween Peanut Butter cups.
How do I make these peanut butter cups healthier?
You can substitute natural sweeteners like honey or maple syrup for powdered sugar and use dark chocolate with higher cocoa content.
What if my peanut butter filling is too runny?
If your filling is too runny, try adding more powdered sugar until it reaches your desired consistency.
Can I customize the decorations?
Absolutely! Use different colored sprinkles or edible glitter to match your Halloween theme and personalize your treats.
How long do these last?
When stored properly, Halloween Peanut Butter cups will last about a week in the refrigerator or up to three months in the freezer.
Final Thoughts
These Halloween Peanut Butter cups are not only delightful treats but also versatile enough for any spooky occasion. Feel free to customize them with different flavors or decorations to suit your taste. Enjoy making these with family and friends!
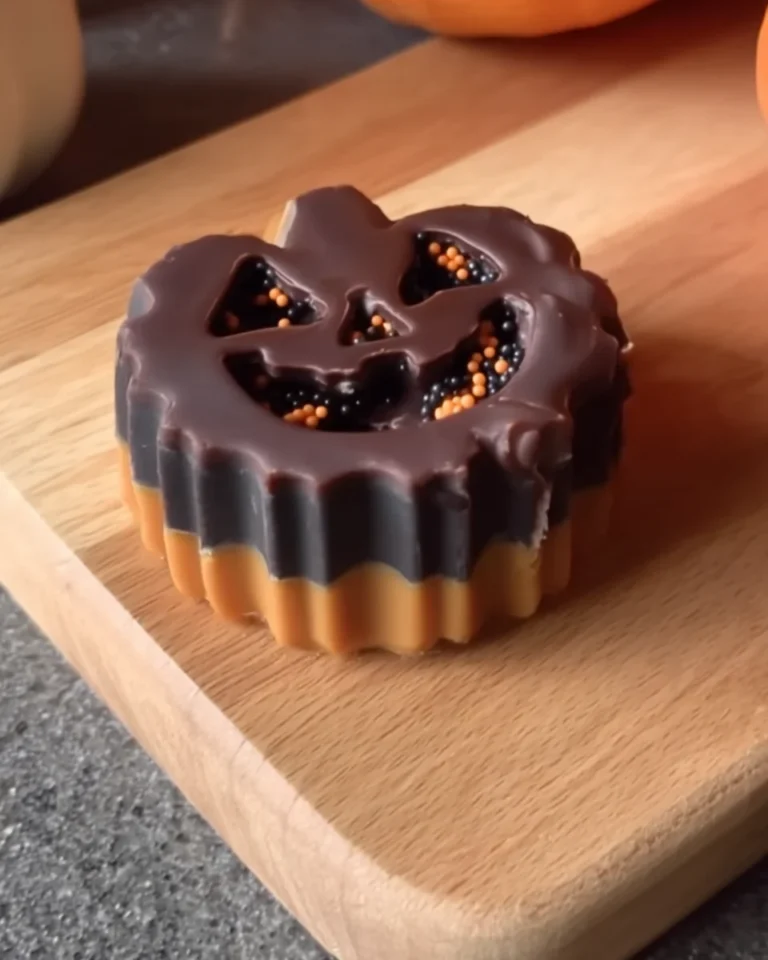
Halloween Peanut Butter Cups
Get ready to delight your guests with these Halloween Peanut Butter Cups, a perfect blend of creamy peanut butter and rich chocolate that captures the spirit of the season. These homemade treats are not only simple to make but also customizable with festive decorations, making them a fantastic addition to any Halloween gathering or trick-or-treating bag. Whether you’re hosting a party or enjoying a spooky movie night, these delicious cups are sure to impress kids and adults alike.
- Total Time: 30 minutes
- Yield: Makes approximately 12 servings 1x
Ingredients
- 1 cup creamy peanut butter
- 1 cup powdered sugar
- 1 teaspoon vanilla extract
- 1 ½ cups milk chocolate chips
- 1 tablespoon unsalted butter
- Orange and black sprinkles (for decoration)
Instructions
- In a medium bowl, mix together creamy peanut butter, powdered sugar, and vanilla extract until smooth.
- Melt milk chocolate chips and unsalted butter in a microwave-safe bowl in 30-second intervals, stirring until smooth.
- Line a muffin tin with cupcake liners. Pour melted chocolate into each liner to cover the base and sides slightly; refrigerate for 10 minutes.
- Add dollops of the peanut butter mixture into each chocolate-lined cup, leaving space for more chocolate on top.
- Pour additional melted chocolate over the filling to cover completely and smooth out any uneven tops.
- While still warm, sprinkle with orange and black sprinkles for decoration.
- Chill in the refrigerator for 20-30 minutes until set before serving.
- Prep Time: 20 minutes
- Cook Time: 10 minutes
- Category: Dessert
- Method: Baking
- Cuisine: American
Nutrition
- Serving Size: 1 peanut butter cup (36g)
- Calories: 160
- Sugar: 14g
- Sodium: 45mg
- Fat: 10g
- Saturated Fat: 4g
- Unsaturated Fat: 6g
- Trans Fat: 0g
- Carbohydrates: 15g
- Fiber: 1g
- Protein: 3g
- Cholesterol: 5mg
Leave a Comment