
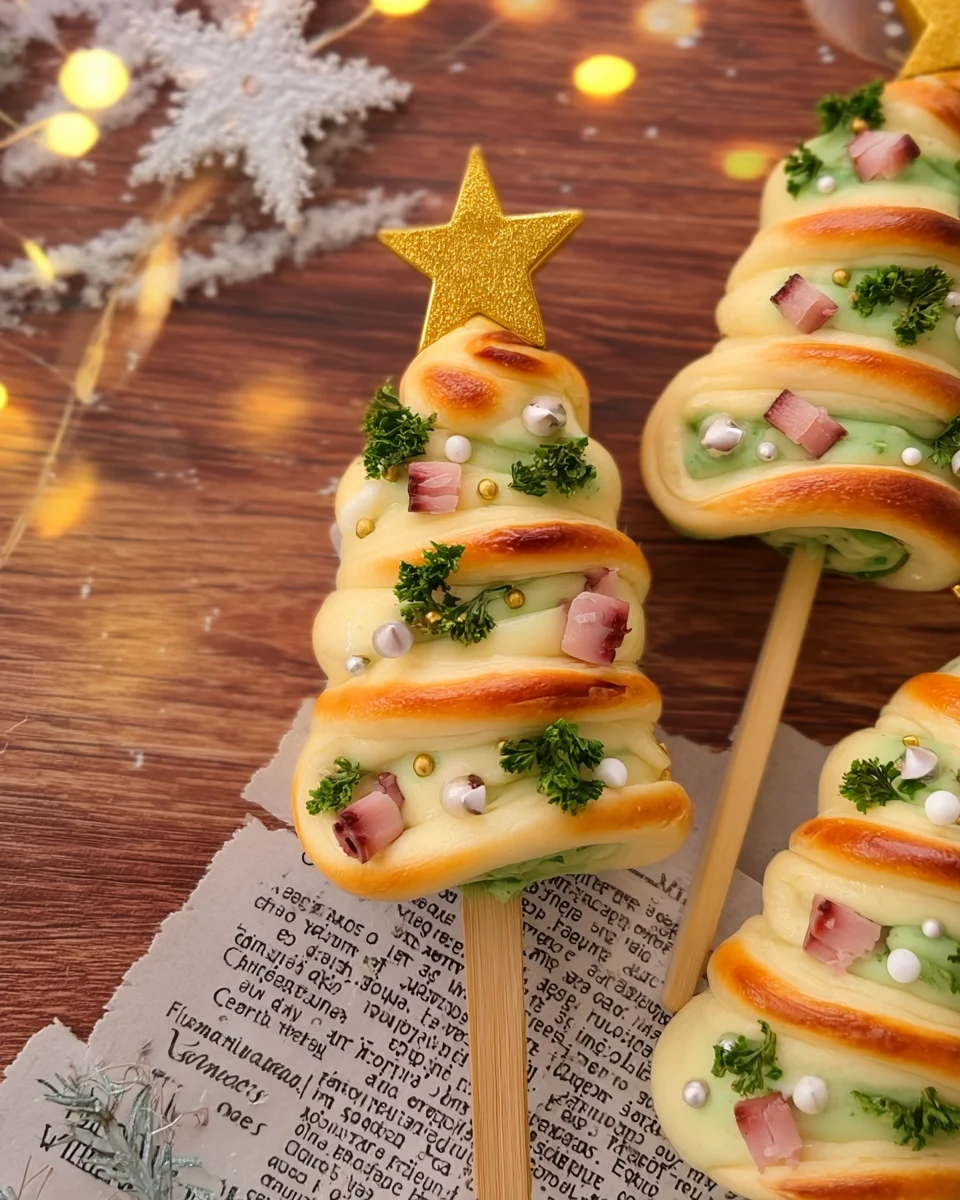
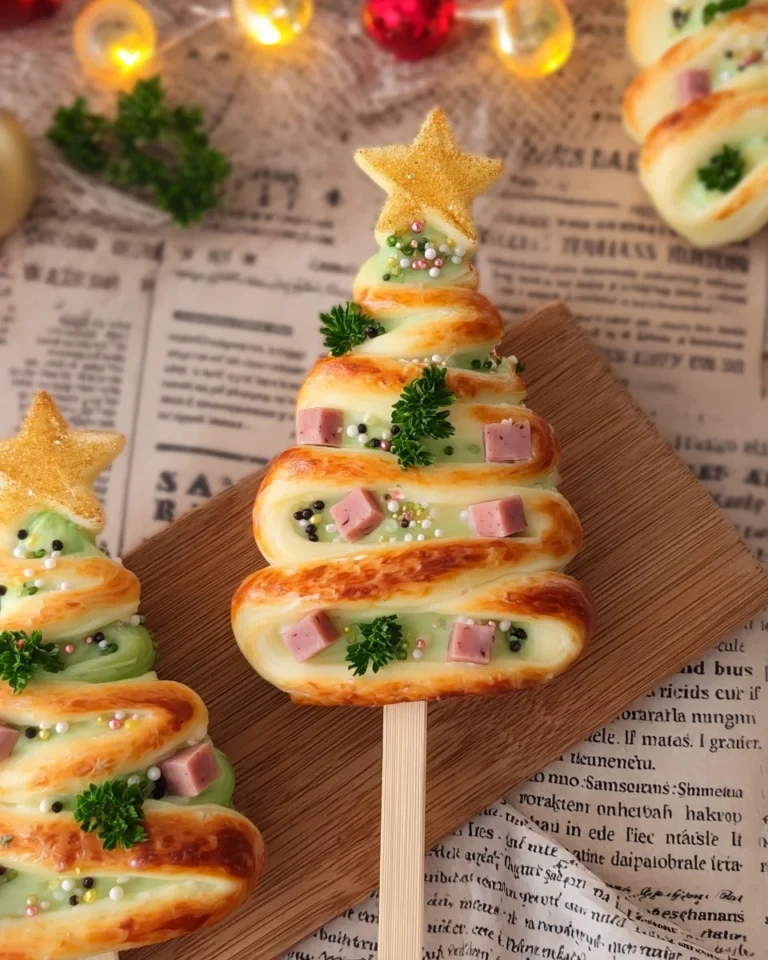
Celebrate the festive season with Quick Christmas Trees! These delightful treats are not only easy to make but also a hit at any holiday gathering. Perfect for family fun, these edible decorations bring joy to both kids and adults. With colorful sprinkles and melted chocolate, they make for an eye-catching centerpiece or a sweet gift. Embrace the holiday spirit with this simple yet creative recipe that will leave everyone smiling.

Why You’ll Love This Recipe
- Easy to Make: With just a few simple ingredients, you can whip up these festive trees in no time.
- Kid-Friendly Fun: This activity is perfect for engaging children in the kitchen while spreading holiday cheer.
- Customizable Decor: Use any sprinkles or toppings you like, making each tree uniquely yours.
- No Baking Required: Enjoy a delightful treat without the hassle of baking—just melt, dip, and decorate!
- Great for Gifting: Pack them in boxes for delightful homemade gifts that friends and family will love.
Tools and Preparation
Before diving into this festive project, gather your tools to ensure a smooth process. The right equipment makes assembling these Quick Christmas Trees a breeze.
Essential Tools and Equipment
- Parchment paper
- Microwave-safe bowl
- Spoon or dipping fork
- Serving platter or gift boxes
Importance of Each Tool
- Parchment paper: Keeps your workspace clean and prevents sticking during the cooling process.
- Microwave-safe bowl: Ensures safe melting of candy melts without the risk of breakage.
- Spoon or dipping fork: Helps achieve even coating on sugar cones and can assist in decorating.
Ingredients
To create adorable Quick Christmas Trees, you’ll need the following ingredients:
For the Trees
- 12 sugar cones
- 1 cup green candy melts
For Decoration
- 1 cup assorted sprinkles (colored, edible glitter, etc.)
- 1 cup mini chocolate chips (for ornaments)
- 12 small edible stars (for the tops)
Optional Snow Effect
- 1 tablespoon coconut flakes
How to Make Quick Christmas Trees
Step 1: Prepare the Work Area
Set up your workspace by laying down parchment paper. This will make cleanup easier after decorating.
Step 2: Melt the Candy
- Place 1 cup green candy melts into a microwave-safe bowl.
- Heat in intervals of 30 seconds, stirring in between until fully melted and smooth.
Step 3: Coat the Cones
- Dip each sugar cone into the melted green candy.
- Swirl to coat evenly, allowing excess candy to drip off before placing it on parchment paper.
Step 4: Decorate
- While still wet, immediately sprinkle each coated cone with colorful sprinkles and mini chocolate chips.
- If using, add coconut flakes for a snowy effect before the candy hardens.
Step 5: Add the Star
Gently press an edible star into the top of each tree to add a finishing touch.
Step 6: Set and Serve
Allow the trees to cool completely on the parchment paper until the candy coating hardens. Once ready, arrange them on a serving platter or pack them in gift boxes for gifting. Enjoy your festive creations!
How to Serve Quick Christmas Trees
These delightful Quick Christmas Trees can be served in various fun and festive ways. Whether you’re hosting a holiday party or simply want to add some cheer to your family gatherings, here are some serving suggestions:
Individual Treat Bags
- Create small bags filled with a few Quick Christmas Trees for guests to take home as sweet favors.
Festive Dessert Platter
- Arrange the trees on a large platter, adding some holiday-themed decorations like pinecones or ornaments for a beautiful presentation.
Holiday Cookie Exchange
- Include these cute trees in your cookie exchange lineup. They are sure to impress with their colorful design and easy assembly.
Kid-Friendly Activity Station
- Set up a station at your holiday party where kids can decorate their own Quick Christmas Trees using extra sprinkles and toppings.
Gift Boxes
- Pack individual trees in small boxes tied with ribbons. These make charming homemade gifts for friends and neighbors.
Centerpiece Display
- Use the trees as part of your table centerpiece. Their vibrant colors will brighten up any holiday table setting.
How to Perfect Quick Christmas Trees
Making perfect Quick Christmas Trees is easy with these helpful tips that ensure they look great and taste delicious.
- Use Quality Candy Melts: High-quality candy melts will melt smoothly and create an even coating on your sugar cones.
- Sprinkle While Wet: To achieve the best decoration, add sprinkles immediately after coating the cone before the chocolate sets.
- Chill Cones Before Melting: Refrigerate the sugar cones for about 10 minutes before dipping. This helps the candy coating set faster.
- Mix Colors of Sprinkles: For an eye-catching look, combine different colors of sprinkles, giving each tree a unique appearance.
- Store Properly: Keep your decorated trees in an airtight container at room temperature to maintain freshness and prevent melting.
- Experiment with Toppings: Try adding other toppings like crushed nuts or mini candies for more variety and flavor.

Best Side Dishes for Quick Christmas Trees
To complement your Quick Christmas Trees, consider serving these delicious side dishes that enhance the festive spirit of your gathering.
- Christmas Salad: A colorful mix of greens, cranberries, and pecans dressed in a tangy vinaigrette.
- Cheesy Garlic Bread: Warm, crusty bread topped with melted cheese and garlic makes a perfect pairing.
- Roasted Vegetables: Seasonal vegetables roasted with herbs provide a healthy contrast to sweet treats.
- Stuffed Mushrooms: Savory mushrooms filled with cream cheese and herbs add a touch of elegance to your spread.
- Mini Quiches: Bite-sized quiches filled with spinach, cheese, or bacon are great finger foods for guests.
- Fruit Platter: A vibrant assortment of fresh fruits adds color and freshness to balance out the sweets.
- Potato Skins: Crispy potato skins loaded with cheese and bacon bits are always a crowd-pleaser at festive gatherings.
- Pasta Salad: A cold pasta salad with vegetables offers a refreshing side that can be made ahead of time.
Common Mistakes to Avoid
Creating Quick Christmas Trees can be a delightful experience, but there are common mistakes that can hinder your fun.
- Skipping the Prep: Not preparing your workspace can lead to a messy experience. Always set up with parchment paper to catch drips and make cleanup easier.
- Overheating Candy Melts: Melting candy too long can burn it. Follow package instructions carefully and melt in short intervals, checking often.
- Rushing Decoration: If you wait too long to add sprinkles and decorations, the candy coating hardens. Work quickly after coating each cone for the best results.
- Ignoring Storage Guidelines: Not storing your trees properly can affect their freshness. Keep them in an airtight container to maintain their taste and texture.
- Using Stale Ingredients: Old or stale sprinkles and candies can ruin your treats. Always check the freshness of your ingredients before starting.
Refrigerator Storage
- Store the Quick Christmas Trees in an airtight container.
- They will stay fresh for up to 5 days in the refrigerator.
Freezing Quick Christmas Trees
- For longer storage, freeze the trees in a single layer on a baking sheet first.
- Once frozen, transfer them to an airtight container or freezer bag.
- They can last up to 2 months in the freezer.
Reheating Quick Christmas Trees
- Oven: Preheat to 250°F (120°C) and warm for about 5 minutes just until slightly softened.
- Microwave: Use a microwave-safe plate; heat for 10-15 seconds at a time until soft, but not melted.
- Stovetop: Place them in a pan over low heat for a few moments, being careful not to melt any decorations.

Frequently Asked Questions
What are Quick Christmas Trees?
Quick Christmas Trees are festive treats made from sugar cones coated with green candy melts and decorated with sprinkles and chocolate chips.
How long do Quick Christmas Trees take to make?
They take about 15 minutes to prepare and 5 minutes to set, totaling around 20 minutes from start to finish.
Can I customize my Quick Christmas Trees?
Absolutely! You can use different colored candy melts or varied toppings like nuts or dried fruits for unique designs.
Are Quick Christmas Trees suitable for kids?
Yes! This recipe is perfect for kids as they can help with decorating their own trees while enjoying a hands-on experience.
How should I store my Quick Christmas Trees?
Store them in an airtight container at room temperature for up to five days, or freeze them for longer preservation.
Final Thoughts
These Quick Christmas Trees are not only simple but also incredibly versatile. Their cute appearance makes them ideal for parties or as gifts. Feel free to customize decorations according to personal preferences or seasonal themes. Enjoy making these delightful treats this holiday season!
Quick Christmas Trees
Celebrate the holiday season with Quick Christmas Trees, a delightful and easy-to-make treat that brings cheer to any gathering! These charming edible decorations are crafted from sugar cones coated in vibrant green candy melts and adorned with colorful sprinkles and mini chocolate chips. Perfect for family fun or as gifts, these no-bake creations will leave everyone smiling. Engage the kids in a festive kitchen activity and enjoy a creative way to spread holiday joy!
- Total Time: 15 minutes
- Yield: Makes 12 Quick Christmas Trees 1x
Ingredients
- 12 sugar cones
- 1 cup green candy melts
- 1 cup assorted sprinkles
- 1 cup mini chocolate chips
- 12 small edible stars
- Optional: 1 tablespoon coconut flakes (for a snowy effect)
Instructions
- Set up your workspace with parchment paper.
- Melt the green candy melts in a microwave-safe bowl for about 1 minute, stirring until smooth.
- Dip each sugar cone into the melted candy, coating evenly and letting excess drip off.
- While wet, decorate with sprinkles, mini chocolate chips, and coconut flakes if desired.
- Press an edible star on top of each tree.
- Allow to cool completely before serving or packing in gift boxes.
- Prep Time: 10 minutes
- Cook Time: 5 minutes
- Category: Dessert
- Method: No-bake
- Cuisine: Holiday
Nutrition
- Serving Size: 1 tree (45g)
- Calories: 160
- Sugar: 18g
- Sodium: 30mg
- Fat: 7g
- Saturated Fat: 4g
- Unsaturated Fat: 2g
- Trans Fat: 0g
- Carbohydrates: 24g
- Fiber: 0g
- Protein: 1g
- Cholesterol: 0mg

Leave a Comment