
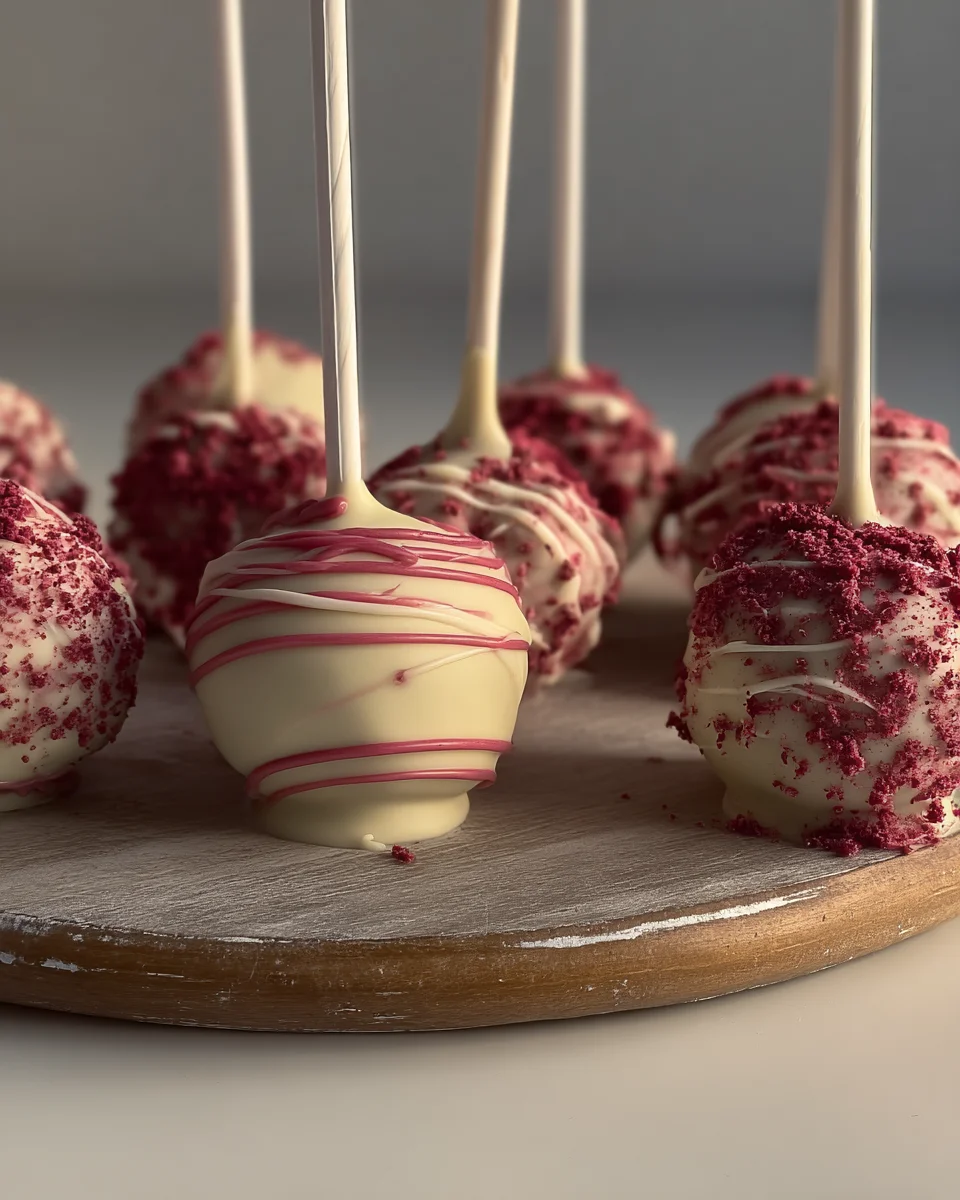
Delight in the charm of Red Velvet Cake Pops, a perfect treat for any occasion! These bite-sized wonders combine rich, moist red velvet cake with creamy frosting and a sweet chocolate coating. Whether you’re hosting a birthday party, celebrating a holiday, or just indulging in a sweet craving, these cake pops are sure to impress with their vibrant color and decadent flavor.

Why You’ll Love This Recipe
- Easy to Make: With simple ingredients and straightforward steps, these cake pops are perfect for bakers of all skill levels.
- Versatile Delight: Ideal for various occasions such as birthdays, weddings, or holiday gatherings. They can even be customized with different toppings!
- Decadent Flavor: The combination of rich red velvet cake and cream cheese frosting creates an unforgettable taste experience.
- Fun Presentation: These bite-sized treats are not only delicious but also visually appealing, making them great for parties.
- Kid-Friendly Activity: Making cake pops can be a fun activity to do with kids, fostering creativity and teamwork in the kitchen.
Tools and Preparation
To create your delightful red velvet cake pops, you’ll need some essential tools that will make the process easier and more efficient.
Essential Tools and Equipment
- Mixing bowls
- Baking sheet
- Parchment paper
- Microwave-safe bowl
- Cake pop sticks
- Foam block or cake pop stand
Importance of Each Tool
- Mixing bowls: Essential for combining ingredients thoroughly without any mess.
- Baking sheet: Provides a stable surface to set your cake balls while they chill.
- Foam block or cake pop stand: Helps keep the dipped cake pops upright while the chocolate sets.
Ingredients
To make delicious red velvet cake pops, gather the following ingredients:
For the Cake
- 1 box red velvet cake mix
- 3 large eggs
- 1 cup vegetable oil
- 1 cup water
- 1 teaspoon vanilla extract
For the Coating
- 1 cup cream cheese frosting (store-bought or homemade)
- 16 ounces white chocolate or candy melts (for coating)
- Cake pop sticks
- Sprinkles (optional, for decoration)
How to Make Red Velvet Cake Pops
Step 1: Bake the Cake
Preheat your oven to 350°F (175°C). Prepare and bake the red velvet cake according to the package instructions. Allow the cake to cool completely after baking.
Step 2: Crumb the Cake
Once cooled, crumble the cake into a large mixing bowl until fine crumbs form. Ensure there are no large pieces left.
Step 3: Mix in Frosting
Add the cream cheese frosting to the crumbled cake. Use your hands to mix until fully combined, achieving a dough-like consistency that holds together well.
Step 4: Form the Cake Balls
Scoop out small portions of the mixture. Roll them into balls about 1 inch in diameter. Place each ball on a baking sheet lined with parchment paper.
Step 5: Chill the Cake Balls
Refrigerate the formed cake balls for at least 1 hour or until they are firm enough to handle without losing shape.
Step 6: Melt the Chocolate
In a microwave-safe bowl, melt the white chocolate or candy melts according to package instructions. Stir until smooth and fully melted.
Step 7: Dip the Cake Pops
Insert a cake pop stick into each chilled cake ball. Dip them completely into the melted chocolate, allowing any excess chocolate to drip off before moving on.
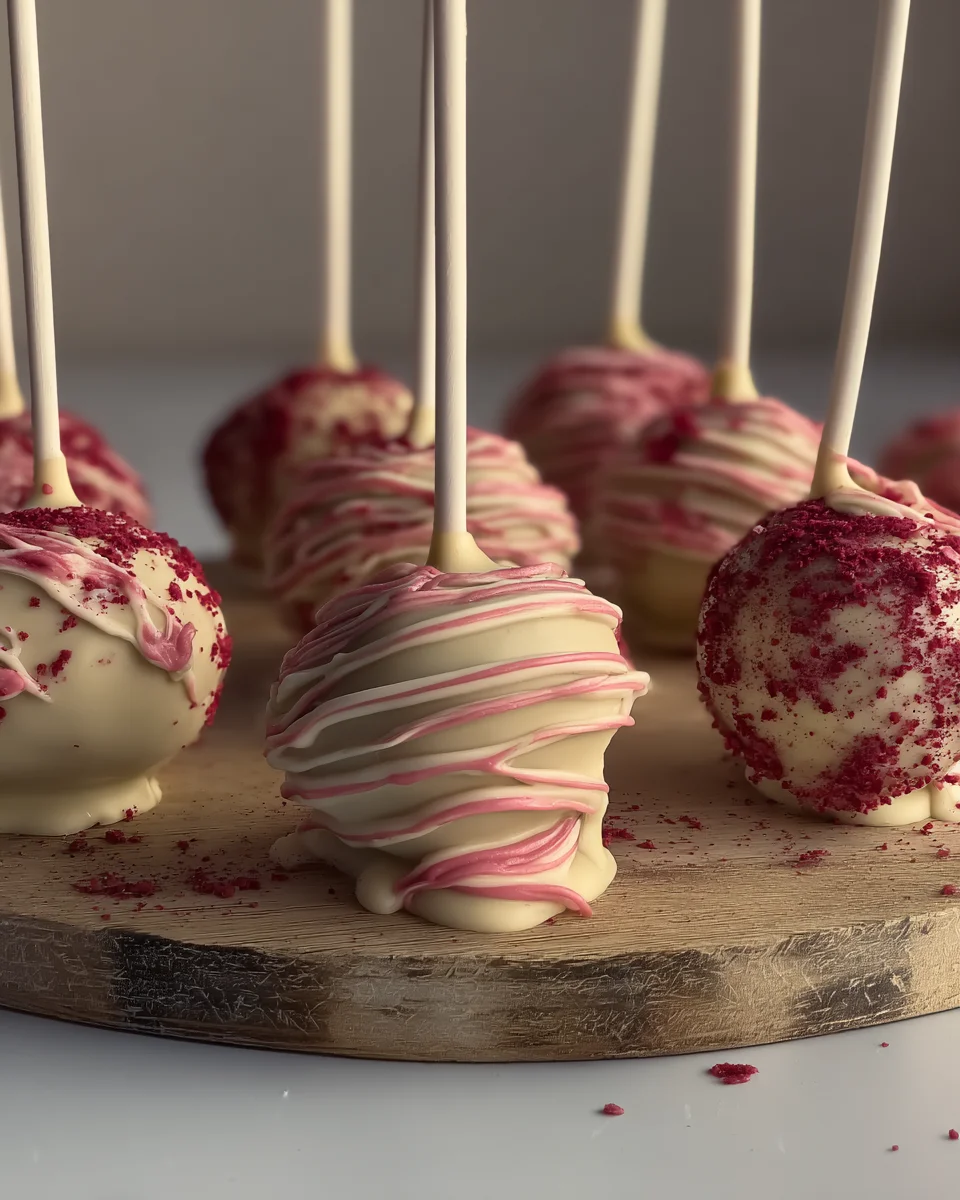
Step 8: Decorate
Before the coating sets, sprinkle colorful sprinkles over each dipped cake pop if desired. Place them upright in a foam block or dedicated cake pop stand to allow them to set completely.
Step 9: Serve and Enjoy
Once the chocolate has hardened fully, your red velvet cake pops are ready! Enjoy these irresistible treats at your next gathering!
How to Serve Red Velvet Cake Pops
Red velvet cake pops are a delightful treat that can be enjoyed in various ways. Whether you’re hosting a party or simply indulging yourself, these cake pops can be served in creative and fun manners.
At a Party
- Dessert Table: Arrange the cake pops on a beautiful dessert table alongside other sweets to create an eye-catching display.
- Party Favors: Wrap individual cake pops in cellophane and tie with a ribbon for guests to take home as delicious favors.
For Celebrations
- Birthday Parties: Use themed sprinkles that match the birthday party colors for a festive touch.
- Holidays: Decorate the cake pops with seasonal sprinkles or edible glitter for Christmas, Halloween, or Valentine’s Day.
Casual Snacking
- Movie Night: Serve cake pops on a platter during your next movie marathon; they make perfect bite-sized snacks.
- Picnics: Pack some cake pops in your picnic basket; they are easy to transport and always a hit outdoors.
How to Perfect Red Velvet Cake Pops
To ensure your red velvet cake pops turn out perfectly every time, follow these simple tips for success.
- Use Quality Ingredients: Opt for high-quality red velvet cake mix and fresh cream cheese frosting for the best flavor.
- Chill the Cake Balls: Refrigerating the cake balls is crucial. It helps them hold their shape when dipped in chocolate.
- Melt Chocolate Properly: Melt white chocolate over low heat or use short bursts in the microwave to avoid burning it.
- Dip with Care: Dip each cake pop slowly into the melted chocolate to ensure full coverage and minimize drips.
- Decorate Immediately: Add sprinkles right after dipping while the chocolate is still wet to ensure they stick well.
- Store Correctly: Keep leftovers in an airtight container in the fridge for up to one week for optimal freshness.
Best Side Dishes for Red Velvet Cake Pops
Red velvet cake pops pair wonderfully with various side dishes that enhance their sweetness. Here are some delightful options to serve alongside them.
- Fruit Skewers: Colorful fruit skewers provide a refreshing contrast to the rich flavor of cake pops.
- Cheese Platter: A selection of cheeses balances sweetness; consider adding crackers and nuts for variety.
- Mini Cupcakes: Offer mini cupcakes in complementary flavors like vanilla or chocolate for an assortment of treats.
- Chocolate Fondue: Set up a chocolate fondue station where guests can dip fruits or marshmallows while enjoying their cake pops.
- Ice Cream Sundae Bar: Create an ice cream bar with toppings that pair nicely with red velvet flavors, making for a fun dessert experience.
- Savory Bites: Include small savory snacks like sliders or cheese puffs to balance out the sweetness of the cake pops.
Common Mistakes to Avoid
Making red velvet cake pops can be a delightful experience, but certain mistakes can hinder your results.
- Using Warm Cake Balls: If you dip warm cake balls into chocolate, the coating may melt. Always ensure the cake balls are chilled before dipping.
- Overmixing the Cake Crumbs: Mixing too vigorously can make the texture dense. Gently combine until just mixed for light and airy cake pops.
- Skipping the Chilling Step: Neglecting to chill the formed cake balls can lead to them losing shape during dipping. Always refrigerate for at least one hour.
- Not Using Quality Chocolate: Low-quality chocolate can result in a poor coating. Opt for high-quality white chocolate or candy melts for best flavor and appearance.
- Ignoring Decoration Options: Missing out on sprinkles or decorations makes your cake pops less appealing. Get creative with toppings to enhance their festive look.
Storage & Reheating Instructions
Refrigerator Storage
- Store red velvet cake pops in an airtight container.
- They will stay fresh for up to 1 week in the refrigerator.
Freezing Red Velvet Cake Pops
- Wrap each cake pop individually in plastic wrap.
- Place them in a freezer-safe bag or container; they can last up to 3 months in the freezer.
Reheating Red Velvet Cake Pops
- Oven: Preheat to 350°F (175°C) and warm for 5-10 minutes until slightly softened.
- Microwave: Heat on low power for about 10 seconds at a time until warmed through.
- Stovetop: Use a skillet on low heat, covering it with a lid for gentle warming.
Frequently Asked Questions
How long do Red Velvet Cake Pops last?
Red velvet cake pops last about one week when stored properly in the refrigerator. For longer storage, freeze them for up to three months.
Can I customize my Red Velvet Cake Pops?
Absolutely! You can customize your red velvet cake pops by using different coatings like dark chocolate or milk chocolate and various sprinkles for decoration.
What is the best way to melt chocolate for dipping?
The best way to melt chocolate is using a microwave-safe bowl. Heat in short intervals, stirring frequently, until smooth. This prevents burning.
Are Red Velvet Cake Pops suitable for parties?
Yes! These cake pops are perfect for parties due to their bite-sized nature and vibrant color, making them a festive treat that everyone will enjoy.
Can I use homemade cream cheese frosting?
Yes, feel free to use homemade cream cheese frosting! It adds a personal touch and can enhance the overall flavor of your red velvet cake pops.
Final Thoughts
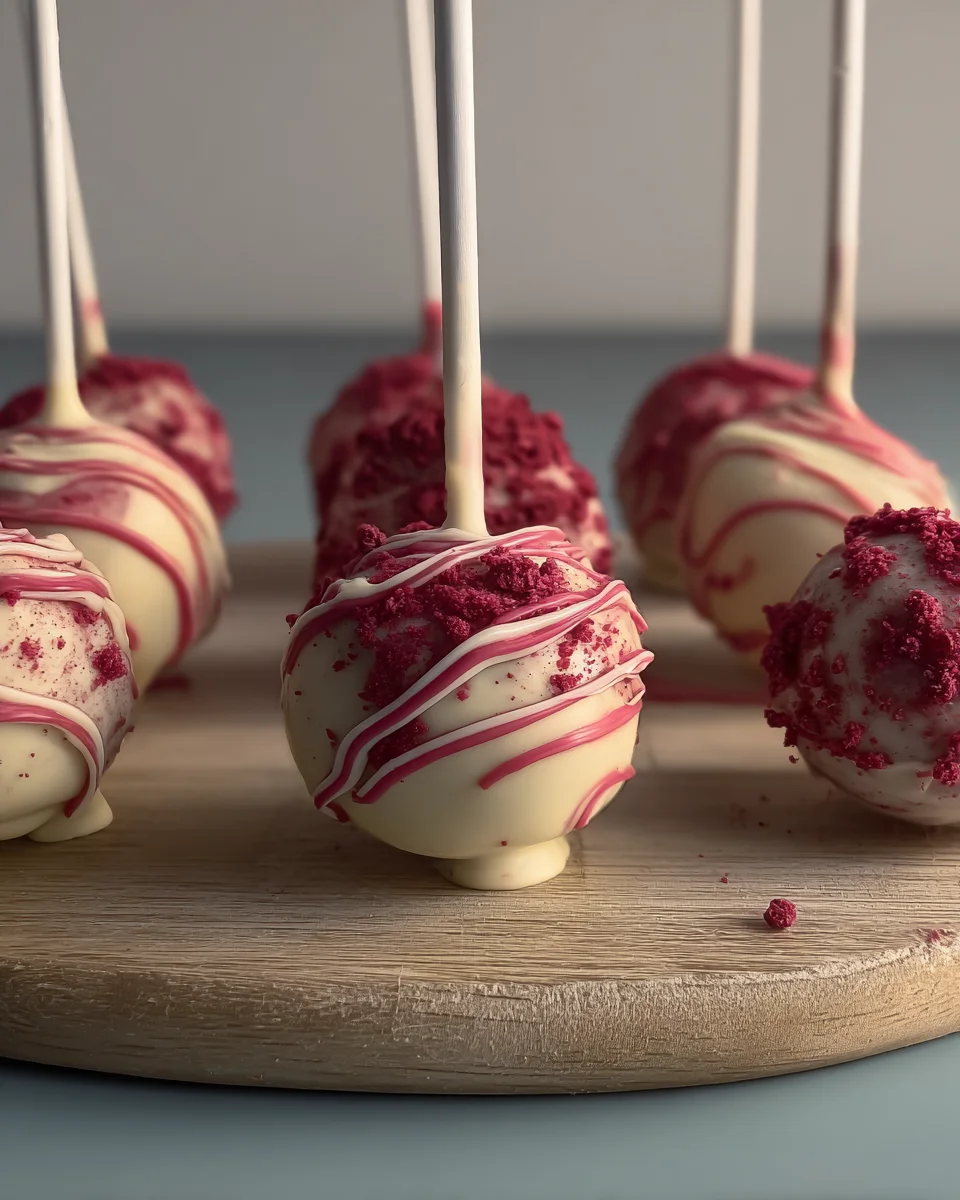
Red velvet cake pops are not only visually appealing but also incredibly delicious. They are versatile treats that suit any occasion, from birthdays to holiday gatherings. Feel free to customize them with different coatings and decorations to match your event’s theme. Enjoy making these delightful bites!

Red Velvet Cake Pops
Delight in the irresistible charm of Red Velvet Cake Pops, a perfect sweet treat for any occasion! These bite-sized wonders feature rich, moist red velvet cake blended with creamy frosting and coated in smooth chocolate. Whether you’re hosting a birthday party, celebrating a holiday, or simply indulging in a sweet craving, these vibrant and decadent pops are sure to impress. Easy to make and fun to customize with various toppings, they are not only delicious but also visually appealing, making them ideal for any festive gathering!
- Total Time: 55 minutes
- Yield: Approximately 24 servings 1x
Ingredients
- 1 box red velvet cake mix
- 3 large eggs
- 1 cup vegetable oil
- 1 cup water
- 1 teaspoon vanilla extract
- 1 cup cream cheese frosting
- 16 ounces white chocolate or candy melts
- Cake pop sticks
- Sprinkles (optional)
Instructions
- Preheat oven to 350°F (175°C). Prepare and bake the red velvet cake according to package instructions. Cool completely.
- Crumble the cooled cake into fine crumbs in a mixing bowl.
- Mix in cream cheese frosting until combined and dough-like.
- Roll into 1-inch balls and place on parchment-lined baking sheet.
- Chill for at least 1 hour to firm up.
- Melt white chocolate or candy melts in the microwave.
- Dip each chilled cake ball into melted chocolate and allow excess to drip off.
- Insert sticks and decorate with sprinkles if desired. Set upright until chocolate hardens.
- Prep Time: 30 minutes
- Cook Time: 25 minutes
- Category: Dessert
- Method: Baking
- Cuisine: American
Nutrition
- Serving Size: 1 serving
- Calories: 150
- Sugar: 10g
- Sodium: 45mg
- Fat: 8g
- Saturated Fat: 4g
- Unsaturated Fat: 3g
- Trans Fat: 0g
- Carbohydrates: 18g
- Fiber: 0g
- Protein: 2g
- Cholesterol: 25mg

Leave a Comment